You can drill into plaster walls with a standard drill bit, but you may need to use a hammer drill if the plaster is particularly thick or dense. You’ll also need a masonry bit to help break through the plaster.
Start by drilling a small hole in the center of the area you want to drill, then use the masonry bit to enlarge the hole. Work slowly and carefully to avoid damaging the plaster or wall behind it.
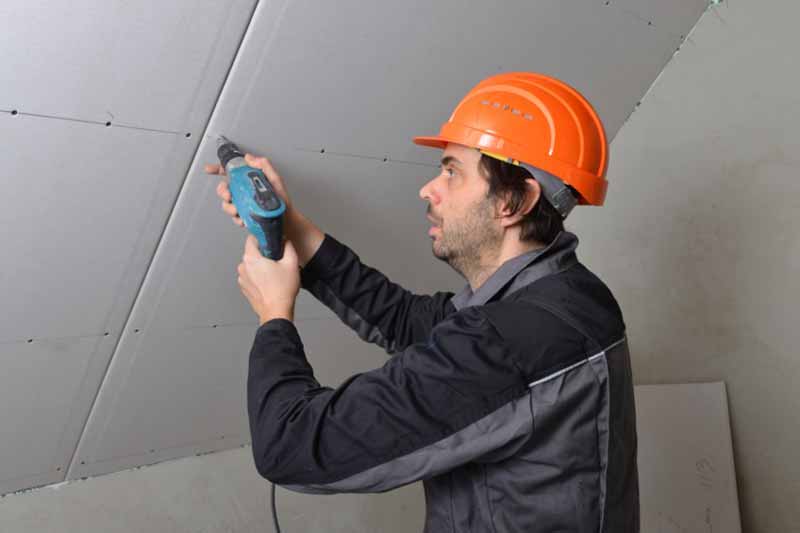
If you’re drilling into a plaster ceiling, be sure to use a stepladder or other stable surface to support yourself. And always wear safety goggles when working with power tools.
It’s also a good idea to avoid drilling into plaster near electrical wiring or other sensitive areas.
If you’re not sure where the wiring is located, contact an electrician before starting your project.
What you need to drill into plaster walls?
You will need a drill, a drill bit, and a hammer. You may also need a level and a tape measure to make sure your hole is drilled in the correct spot.
When drilling into plaster walls, it is important to use the correct drill bit. A masonry bit or a carbide-tipped bit will work best. Be sure to wear eye protection when using a drill.
Start by holding the drill bit against the wall where you want to make the hole. Use a level to make sure the drill bit is straight.
Then, start drilling slowly, applying gentle pressure. As the drill bit goes through the plaster, it will create dust.
Be sure to keep your eyes protected and your face away from the dust.
Once the hole has been drilled, remove the drill bit and clean up any debris. You can now insert a screw or nail into the hole and hang your picture.
Drilling into plaster walls step by step
In order to drill into plaster walls step by step without making a mess, you need some basic supplies: a drill, a screwdriver, screws, anchors (if needed), and a level.
You also need some knowledge of how to use these tools properly. If this is your first time drilling into plaster walls, be sure to read the instructions that came with your tools carefully before getting started.
Once you have all of your supplies gathered together and have read through the instructions, it’s time to start drilling.
Begin by finding the studs in your wall using a stud finder. Once you’ve found the studs, mark their location with a pencil so you know where to drill.
Now it’s time to actually start drilling. Put your drill bit into the chuck of your drill and tighten it down.
Then, hold the drill up to the wall at the spot you marked earlier and start drilling slowly.
As you drill, keep an eye on the depth gauge on your drill so you don’t accidentally drill through the other side of the wall.
Once you’ve made it through the plaster and into the stud, you can start screwing in your screws.
Be sure to use the proper size screw for the anchors you’re using. Screw the screws in until they’re flush with the wall, but don’t overtighten them or you could strip the threads.
Now that you’ve drilled into your plaster wall step by step, all that’s left to do is put up your curtain rod or other item.
Just follow the instructions that came with whatever it is you’re hanging and you should have no problem.
Tips for drilling into plaster walls
When you’re hanging a picture or drilling into a plaster wall, it’s important to know what kind of drill bit to use.
A standard drill bit won’t work for plaster walls – you’ll need a special bit that can go through the plaster without cracking it.
Here are four tips for drilling into plaster walls:
- Use the right drill bit. There are several different types of drill bits designed specifically for drilling into plaster walls; make sure you use the right one.
- Drill slowly and carefully. Drilling too quickly will cause the drill bit to overheat and may damage the wall. Drill at a slow, steady pace to avoid this problem.
- Apply pressure evenly. When you’re drilling into a plaster wall, it’s important to apply even pressure on the drill bit. If you don’t, the wall may crack or crumble.
- Keep your drills clean! Dust and debris from drilling can easily clog up your drill bits – make sure you keep them clean and free of obstruction while drilling.
Following these tips will help you drill into plaster walls without damage. With the right tools and a little bit of care, you can hang pictures or drill into plaster walls without worry.
What kind of screws or anchors to use when drilling into plaster walls?
There are a few options when it comes to screws or anchors to use when drilling into plaster walls. For light fixtures or other objects that weigh less than 10 pounds, you can use a drywall screw or anchor.
For objects that weigh more than 10 pounds, you’ll need to use a masonry drill bit and concrete anchor.
Plaster walls are also thicker than drywall, so you’ll need to use a longer screw or anchor.
When hanging anything on your plaster walls, it’s important to choose the right type of screw or anchor. If you’re unsure about what to use, consult a hardware store employee or professional handyman.
They can help you figure out what type of screw or anchor is best for your particular project.
How to patch up a hole in a plaster wall after drilling it
Drilling a hole in your plaster wall is easy enough, but what do you do when you realize that the hole is too big and needs to be patched up. We will show you how to patch up a hole in a plaster wall after drilling it.
We will also provide some tips on how to make the patching process easier. Read on to learn more.
- Get the right materials. Before you can patch up a hole in a plaster wall, you need to gather the right materials. This includes spackling paste, a putty knife, sandpaper, and a paintbrush. Make sure that you have everything ready before you start so that you don’t have to stop in the middle of the job.
- Clean the area around the hole. Before applying any spackling paste, it’s important to clean the area around the hole thoroughly. Use a brush or vacuum cleaner to remove all of the dust and debris from around the hole. This will help ensure that your patch job is as seamless as possible.
- Apply spackling paste to the hole. Once the area is clean, apply spackling paste liberally to the hole using your putty knife. Be sure to fill the hole completely so that there are no air pockets.
- Let the paste dry. Now, let the spackling paste dry completely. This usually takes about an hour, but it may take longer depending on the size of the hole and the type of plaster you’re using.
- Sand the area smooth. Once thepaste is dry, use sandpaper to smooth out the area around the hole. This will help ensure that your patch job is as seamless as possible.
- Paint over the area. Finally, paint over the area with a matching paint color. This will help further disguise the patch job and make it less noticeable.
Enjoy your newly patched hole. There you have it. That’s how to patch up a hole in a plaster wall after drilling it. With these simple steps, you’ll be able to fix your drilled holes quickly and easily.