There are a few basic steps that you need to take in order to mark holes for drilling.
To mark holes for drilling, first make sure that the area around the hole is clear and free of debris. You’ll also want to use a level to make sure that your drill holes are straight. Once you have the area cleared and marked, it’s time to start drilling.
When you’re ready to start drilling, it’s important to make sure that you have the right bit for the job.
The type of bit you’ll need will depend on the material you’re drilling through. For example, if you’re drilling through metal, you’ll need a different bit than if you were drilling through wood.
Once you have the right bit, start drilling slowly at first to avoid damaging the material. As you drill, keep the drill bit level and straight to create clean, even holes.
If you’re having trouble getting started or your drill hole is too small, try using a center punch to create a starter hole.
To do this, simply place the point of the punch on the surface where you want to create the hole. Then, using a hammer, tap the punch until it creates a small indentation. This will help you start your drill hole without damaging the material.
Once you’ve marked and drilled your holes, it’s time to start installing your hardware. First, insert the bolts or screws into the holes. Then, using a wrench or screwdriver, tighten the bolts or screws until they’re snug.
Lastly, if necessary, use a bit of sealant around the edges of the holes to prevent moisture from getting in. And that’s it. You’ve now successfully marked and drilled holes for your project.
How to mark holes for drilling in concrete
Concrete is a very popular material for construction projects. It is strong and durable, making it perfect for projects that require a lot of wear and tear.
However, drilling into concrete can be difficult because the surface is so hard.
In order to make the process easier, there are a few things you can do to prepare the surface before you start drilling.
- First, identify the location of the hole that you want to drill. Use a chalk line or a piece of tape to mark the spot on the concrete surface.
- Next, use a hammer and chisel to break up the concrete around the marked area. Be sure to wear safety goggles and gloves while doing this, as chipping concrete can cause injuries if it flies in your face or eyes.
- Once the area around the hole is broken up, use a wire brush to clean away any loose debris or dust from the surface.
- Now you are ready to drill! Place your drill bit at the marked spot and hold it steady while you drill into the concrete surface. Start with a slow speed and then increase the speed as you go.
- If the drill bit starts to wander off course, stop drilling and reposition it so that it is back on the mark.
- Once you have finished drilling, use a vacuum to clean up any concrete dust that has been created.
With these tips in mind, you should be able to drill into concrete with ease.
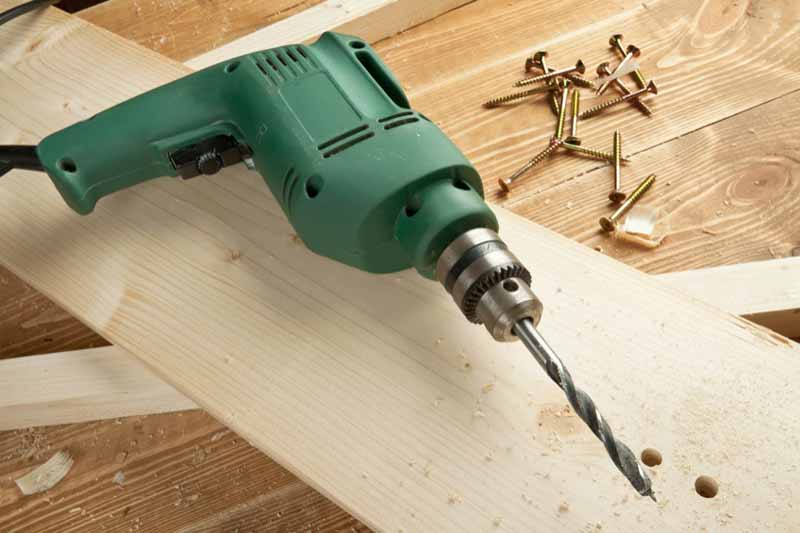
How to mark holes for drilling in wood
When drilling holes in wood, it is important to use the correct drill bit size and to mark the spot where you will be drilling before starting.
This will help to ensure that your hole is drilled correctly and evenly. In this section, we will discuss how to mark holes for drilling in wood, using both a manual drill and an electric drill.
Using a Manual Drill
To mark a hole for drilling with a manual drill, first find the center of the piece of wood that you want to drill into.
You can do this by measuring the width and height of the wood and dividing by 2. Then use a ruler or a straight edge to draw lines from corner to corner on the top and bottom of the wood.
The intersection of these two lines is the center of your piece of wood.
Next, use a pencil or marker to make small marks at each end of the line that represents the center of your hole.
These marks will indicate where you need to place your drill bit on either side of the hole in order for it to be centered.
Finally, use a sharp object like an awl or a nail file to poke starter holes at each end of your marked-off area.
These starter holes will help to keep your drill bit from slipping when you start drilling.
Using an Electric Drill
To mark a hole for drilling with an electric drill, you will need to use a paper template.
First, find the center of the piece of wood that you want to drill into using the same method as described above.
Then use a pencil or marker to make a small dot at the center of your hole. This dot will indicate where you need to place your paper template in order for it to be centered.
Next, cut out a circle from a piece of paper that is slightly larger than the width of your drill bit. Then use a sharp object like an awl or a nail file to poke a hole in the center of your paper template.
This hole will help to keep your paper template from slipping when you start drilling.
Finally, place your paper template on the wood and use a pencil or marker to trace around the edge of the template. This will give you a perfect outline of where to drill your hole.
Drilling the Hole
Once you have marked the spot for your hole, it is time to start drilling. If you are using a manual drill, hold the drill bit in one hand and the handle of the drill in the other.
Place the tip of the drill bit on one of the starter holes that you made earlier and slowly start to turn the handle of the drill in a clockwise direction.
Apply gentle pressure as you turn the handle and keep the drill bit level so that it doesn’t slip or wander off course.
If you are using an electric drill, start by inserting the tip of the drill bit into the hole in the center of your paper template.
Then hold the drill with both hands and slowly start to turn on the power. Apply gentle pressure as you turn on the power and keep the drill bit level so that it doesn’t slip or wander off course.
Finishing Up
Once you have drilled your hole, remove the drill bit from the wood and remove any debris from inside the hole.
If you are using a manual drill, you may need to use a hand saw to cut through any large pieces of wood that were produced when you were drilling.
If you are using an electric drill, the drill will automatically stop when it has finished drilling through the wood.
Once the drill has stopped, remove the drill bit from the wood and remove any debris from inside the hole.
That’s all there is to it. Now you know how to mark holes for drilling in wood, using both a manual drill and an electric drill.
How to mark holes for drilling in metal
Metal is a sturdy and durable material that can be used in a variety of ways. One popular use for metal is in the manufacturing of products.
In order to create a product out of metal, you first have to drill holes in it. Here is how you can mark the holes for drilling in metal:
- Use a marker to draw the outline of the hole on the metal.
- Drill a small pilot hole at the center of the marked area.
- Drill the actual hole using a drill bit that is slightly smaller than the diameter of the screw or bolt that you will be using to fasten the part in place.
- Clean up any rough edges around the hole with a file or sandpaper.
- Apply paint or sealant to protect the metal from corrosion and wear and tear.
Now you know how to mark holes for drilling in metal. Be sure to take the necessary safety precautions when working with power tools.
Wear gloves and goggles to protect yourself from flying debris. Use a clamp to secure the metal piece in place while you work on it.
Follow these steps and you will be able to drill holes in metal like a pro.
How to mark holes for drilling in plastic
Drilling holes in plastic can be a difficult task. Depending on the type of plastic, you may need to use a specific drill bit and apply different amounts of pressure.
In the guide below, we will show you how to mark the holes correctly so that your drilling is as efficient as possible.
First, you will need to determine the size of the hole you need to drill. If you are unsure, it is always best to err on the side of a smaller hole.
Once you have determined the size, use a pencil or pen to mark the center of where you will be drilling.
Next, take your drill bit and make a small mark in the plastic at the center point. This will serve as a starting point for your drill bit.
Apply pressure to the drill bit and begin to slowly drill into the plastic.
As you are drilling, it is important to keep the bit as straight as possible. If it starts to veer off course, stop and readjust before continuing.
It is also important not to apply too much pressure, as this can cause the drill bit to break or the plastic to crack.
Once you have drilled through the plastic, remove the drill bit and check the size of the hole. If it is too small, you can always enlarge it with a bigger drill bit.
If it is too big, you may need to start over with a smaller drill bit.
Now that you know how to mark holes for drilling in plastic, you can get started on your project.
Remember to take your time and be careful when drilling so that you can achieve the best results.
Common mistakes people make when marking holes for drilling
When it comes to drilling, making sure the holes are in the right spot is crucial for a successful job.
If they’re not placed correctly, you could end up with crooked or uneven holes that make the entire process more difficult than it needs to be.
Here are seven mistakes people commonly make when marking holes for drilling.
Not using a level
This is probably the most common mistake people make when marking holes for drilling.
If your drill bit isn’t level, your hole won’t be either. Use a small, handheld level to make sure your drill bit is perpendicular to the surface before you start drilling.
Not measuring twice
Always measure twice and drill once.
It’s better to take an extra minute to make sure your measurements are correct than to have to redo the entire job because of one misplaced hole.
Drilling too close to the edge
When drilling near the edge of a piece of material, it’s easy to accidentally split or crack the surface.
To avoid this, leave at least a quarter-inch of space between the edge of the material and the center of your drill bit.
Drilling too fast
Drilling too quickly can cause the bit to overheat and break, or it can cause the material to split or crack.
Use a slower speed when drilling through tougher materials, and make sure to keep the bit lubricated with water or cutting oil.
Not using the right type of drill bit
Different materials require different types of drill bits.
Using the wrong type of drill bit will not only make the job more difficult, but it can also damage the material you’re trying to drill into.
Make sure you’re using the correct type of drill bit for the material you’re working with.
Not using a pilot hole
A pilot hole is a small hole drilled into the material before the larger hole.
This helps to prevent the drill bit from slipping and makes it easier to drill the larger hole. When working with harder materials, always use a pilot hole.
Not being careful
Drilling holes isn’t difficult, but it does require some care and attention.
Make sure you’re taking your time and being careful not to slip or damage the material you’re working with.
With a little bit of practice, you’ll be drilling perfect holes in no time.
The best way to mark hole locations for optimum results
There are many ways to mark hole locations for optimum results. Some people use a drill, others use a punch, and still others use a chisel.
But the best way to mark hole locations is with a center punch.
A center punch leaves an indentation in the metal that makes it easier to drill or chisel the hole in the right spot.
It also helps to prevent the bit from slipping off-center as you’re drilling, which can cause your holes to be crooked.
To use a center punch, first decide where you want the hole to be. Then, holding the punch perpendicular to the surface of the metal, strike it with a hammer to create an indentation.
Once you have your indentation, you can drill or chisel your hole in the perfect spot.
Remember – a little bit of effort up front can save you a lot of time and frustration later on. So next time you need to mark a hole location, reach for a center punch. It’s the best way to get the job done right.