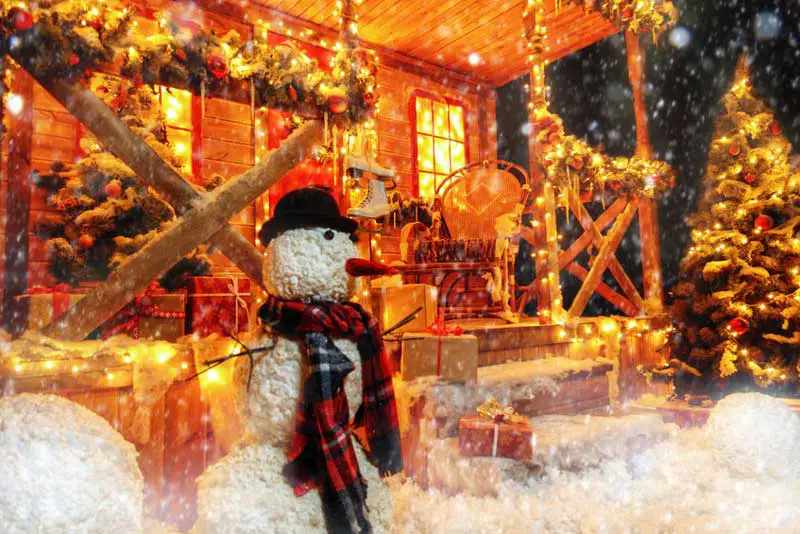
Outdoor lights around the Christmas season create a joyful atmosphere. The holiday spirit is boosted by them and just looking at them brings warmth to the heart. The happy times, however, come along with the cold weather. Ultimately, this brings downpours too in many places. So, it’s a common problem in every household that their lights short out when it starts raining.
During rainy weather, there are many ways to protect outdoor lights. Firstly, to be entirely on the safe side, you have to plug the Christmas lights into GFCI or outdoor outlets, rather than indoors. You can alternatively use electric tapes or waterproof seals that will keep the connectors and extension cords from getting wet.
In this full guide on how to keep outdoor Christmas lights from shorting out in the rain, you will find a step-by-step guide on how to protect your outdoor lights. Furthermore, you will find out about some safety measures you should follow and a DIY project that will save you money and time! So keep reading, and you’ll find out all the details!
Waterproofing Christmas Lights: A Step-by-Step Guide
The first thing you need to know is that there are waterproof outdoor lights. So, investing in them makes more sense than spending money on other things that can save them.
However, exposed wires or a breach in the water proofing is not uncommon. So, it is always a good idea to take some personal initiative to water proof your Christmas lights. And here’s how you can do it in a few simple steps.
Things You Will Need For The Project:
- GFCI or Ground Fault Circuit Interrupter
- Electric tape
- Dielectric grease
- Plastic wrap or bags
- Waterproof covers or outdoor receptacles
Step 1 – Outdoor Outlets for Outdoor Lights
If your home does not have GFCI outlets, you are seriously at risk. The small residual-current devices can help prevent electrocution. They are approximately 125-volts to 250-volts receptacles, set in branch circuits rated 150 volts or less in the ground. Every home should have GFCIs, especially in bathrooms, basements, and laundry rooms, or anywhere there is water.
So, as the first step, you have to plug your outdoor Christmas lights into the GFCI outdoor outlet. Turn the lights on and see if they are working. After checking that, you have to wrap electric tapes around the plugs. It will prevent the wires from getting wet when it rains. You must make sure you are using high-quality tapes that are waterproof.
Step 2- Waterproofing The Connectors
The place where all the wiring connects is the most dangerous spot. If anyhow water gets in it can cause severe accidents in your home. It’s important to purchase waterproof cables and connectors. You can again use electric tapes to keep them safe from water. Remember, even if a product is waterproof, you should still take precautions.
In most cases, the connectors have one part with prongs, and the other with holes. When you suspect rain or snow, you should always put the one with the hole in a downfacing position. In this way, even if water gets into them somehow, the water would be unable to get inside the connector. Therefore, you would be out of trouble!
Step 3 – Applying Dielectric Grease
This is an optional step, but it is highly recommended. Dielectric grease is a silicon-based grease that prevents moisture from wires and connectors. The product is not oily or coolant-like, so the cables would not get dirty. Typically, these are used for plug boots, connectors, or anything outdoors that needs protection against water.
The application process is simple, and a small amount of product goes a long way! As you want to protect the connector that has holes (it was recommended that it be positioned downward), you need to put some grease on the connector that has prongs and place it inside the other connector. In this way, it will coat them both. Repeat the process 2-3 times for the best results.
Step 4 – Secure the Cords With Receptacles
After you have put the grease, it’s time to secure the cords and connectors with plastic wraps. This will work as another protector for them. Fire departments all around the world have always mentioned how plastic wraps or even plastic bags can be safely used as protection for electric sockets or connectors, provided they are properly sealed with electric tape.
You can however also purchase receptacle covers from local hardware stores. They come in a variety of sizes and colors. There is no doubt that you will find something that matches your home’s style. Follow the package instructions given with the cover and cover the GFCIs in your house, mainly outdoor ones. These covers are great for homes with kids.
Step 5 – Reduce The Number Of Connections
No matter if it is an indoor or outdoor electrical issue, you need to always follow this rule. Use long connections, but never purchase the ones that need 2 extension cables to cover the distance. During rainy weather, the middle part where the connector is will always be a hazard. Plus, they could unplug at any time.
In addition, you would have to purchase more products to secure these parts, so you would have to spend more. You should therefore purchase a connector that is long enough to cover the distance it needs. Your time will be saved and your safety will be guaranteed.
A DIY Tip To Keep Extension Cords Safe
You don’t always have to spend money on expensive things because sometimes DIY projects work just as fine. For instance, this hack, which will not only save you money but will 100% protect your outdoor Christmas light from shorting out! All you need for this project is a plastic food container and kitchen scissors or knives!
The first step is to cut small sections on the sides of the box. You can also make small holes in the box so the cords can pass through. Next, place the box on top of your extension cord, and inspect it for any holes that could allow water to enter. If you find any, seal it with electric tapes, and voila! You have made yourself a DIY receptor!
Safety Measures You Should Follow
Now that you know how you can protect your outdoor Christmas lights, don’t think your work is done here. You would still need to take some precautions even if you have followed the whole step-by-step guide.
For starters, always make sure the cords, extensions, lights, and whatever you buy from the hardware store are waterproof. It is important for you to understand, waterproof does not mean water-resistant. It implies, these products might not be dangerous if they are soaked just a little, but they have a limit before they start shorting out.
In the event of your lights still shorting out, you should not leave the house in a hurry while it’s still raining or there’s still water on the ground. You will be at greater risk of electrocution. Turn off the lights completely or wait until the ground dries up.
Conclusion
It can be such a bummer to have outdoor lights short out during the holidays. It kills all the joy, plus you end up working during your off days. I hope this guide on how to keep outdoor Christmas lights from shorting out in the rain can be your savior during these times! Thanks for reading, and I hope you have a wonderful day!